From quote to paid, in six steps
Here's exactly what happens from the moment you price a job to the moment the money's sitting in your bank account.
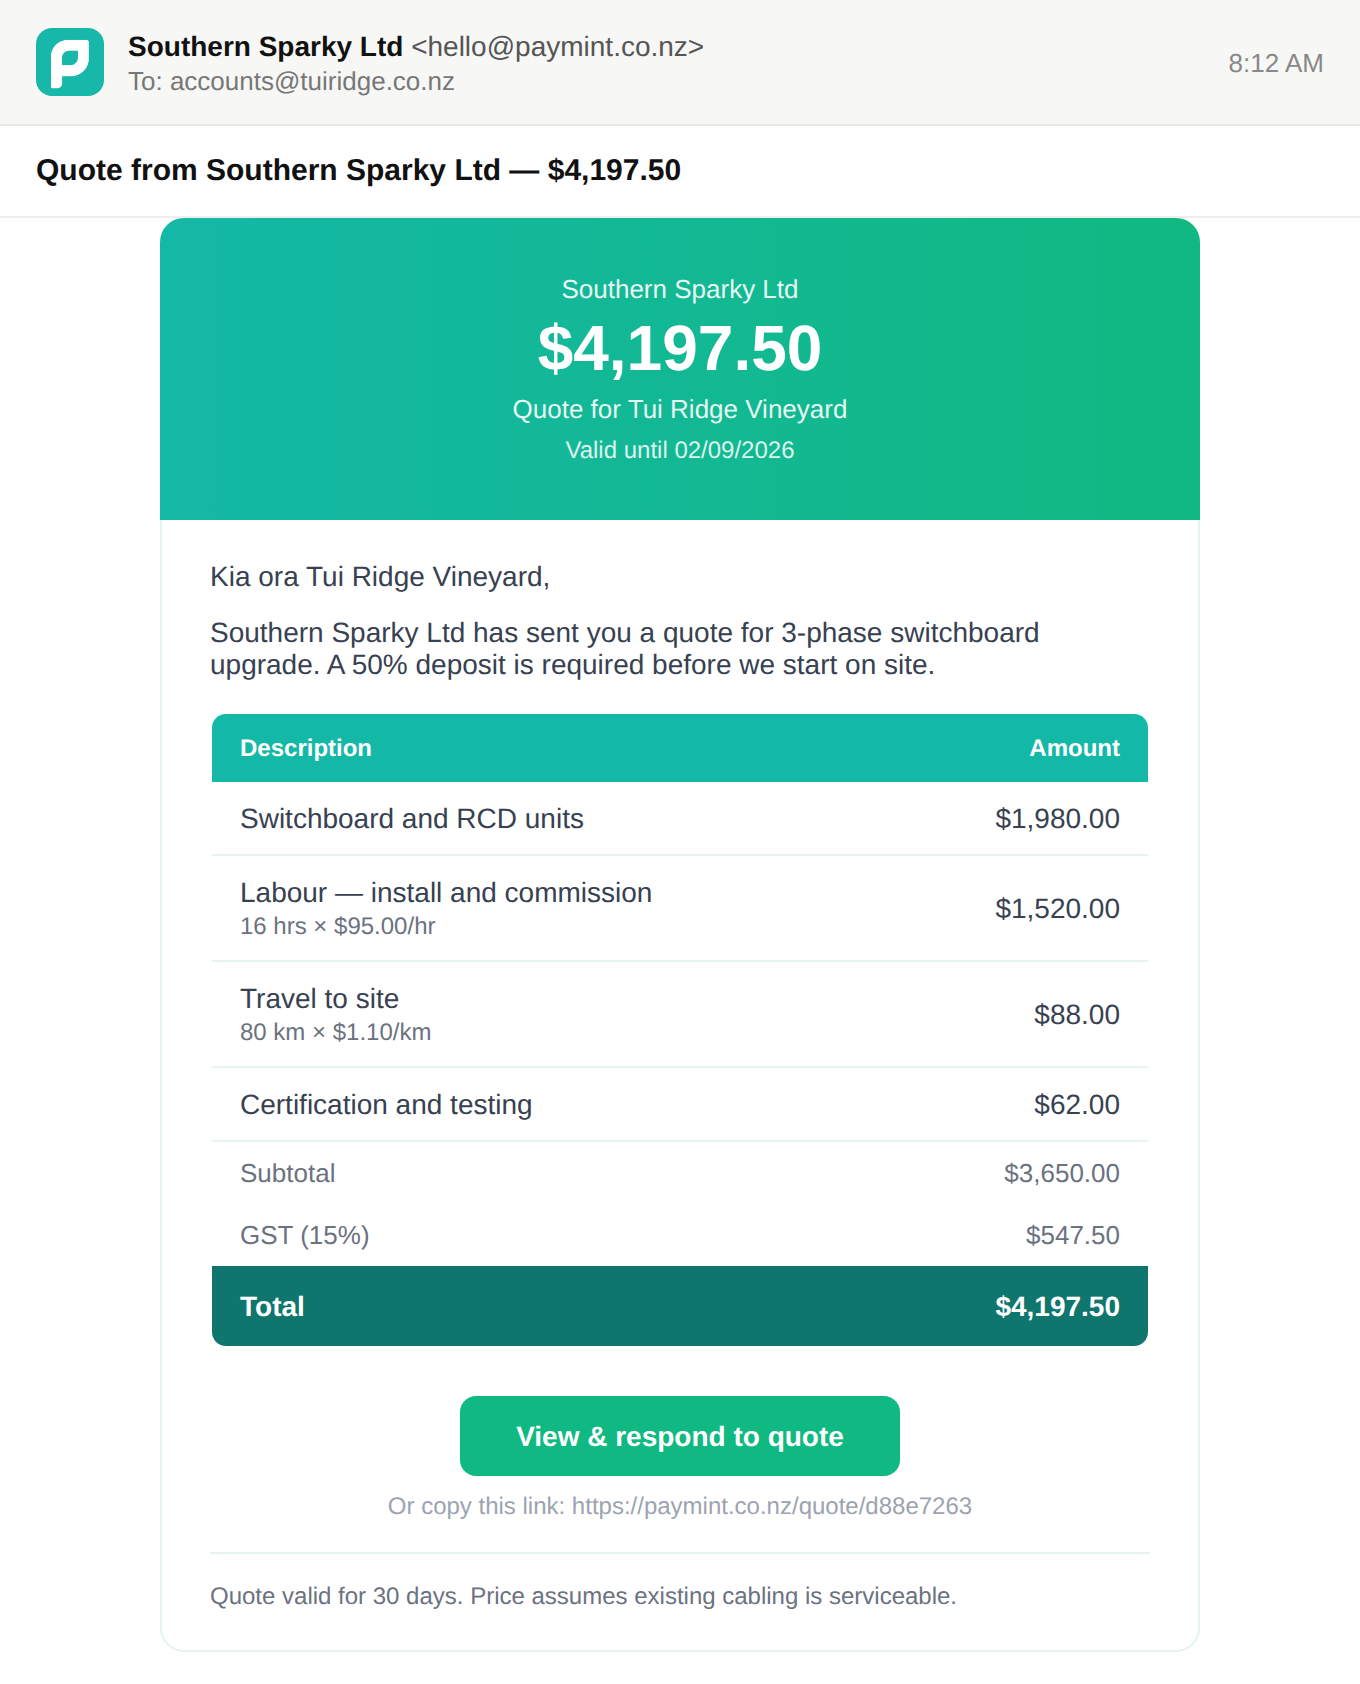
You send a quote
Price the job and send it. Your customer accepts or declines online — no printing, no posting, no chasing them for an answer.
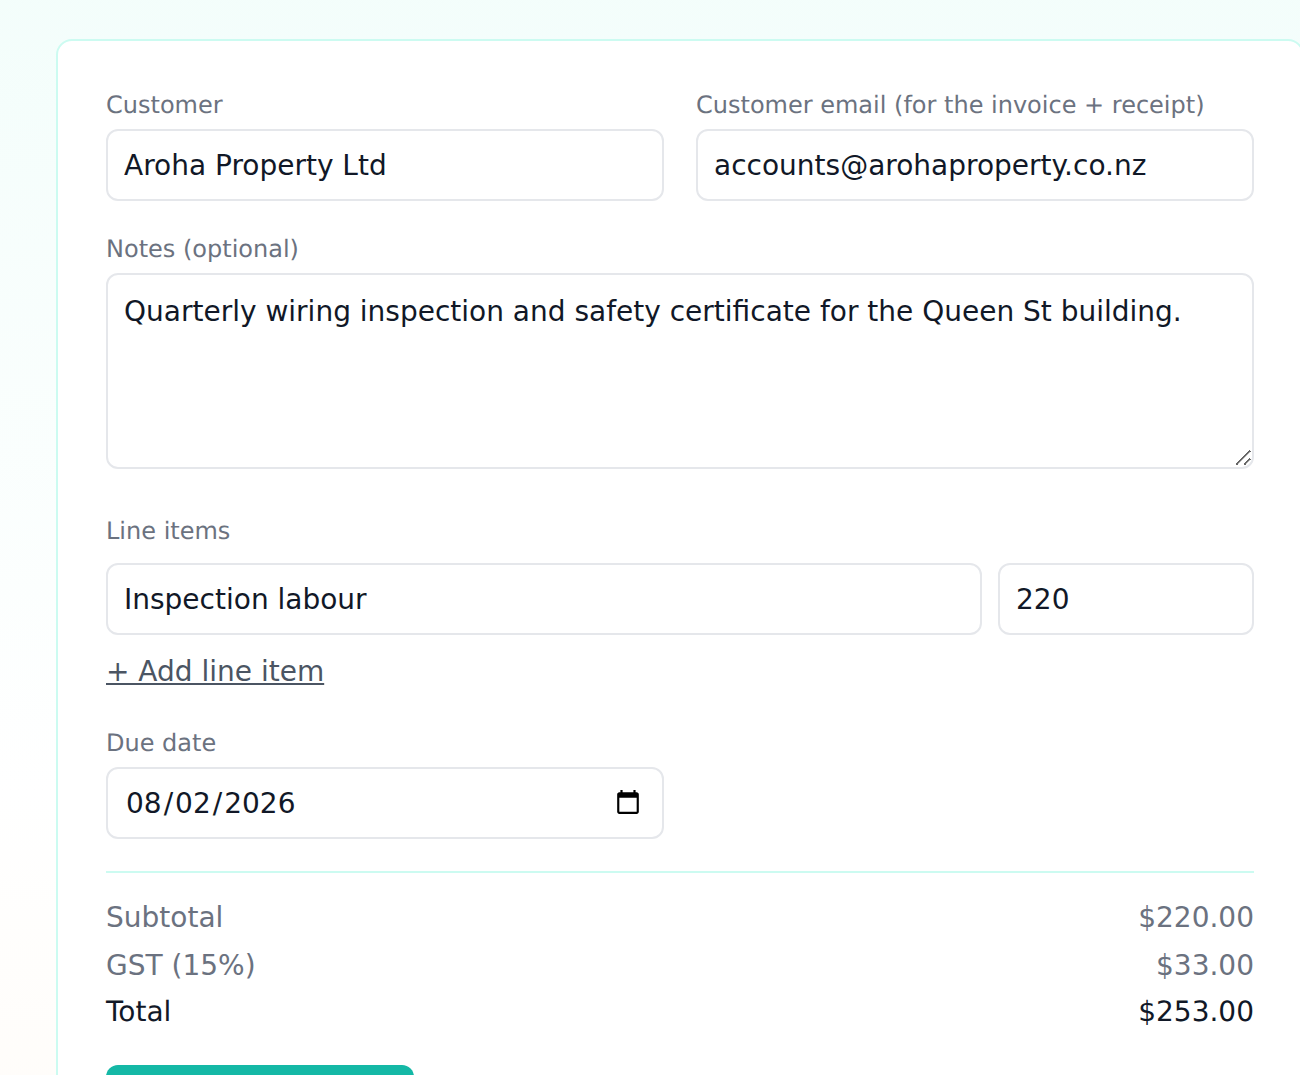
It becomes an invoice
One click once the job's done — line items carry across, GST is worked out for you, and you can ask for a deposit up front. Starting from scratch works the same way.
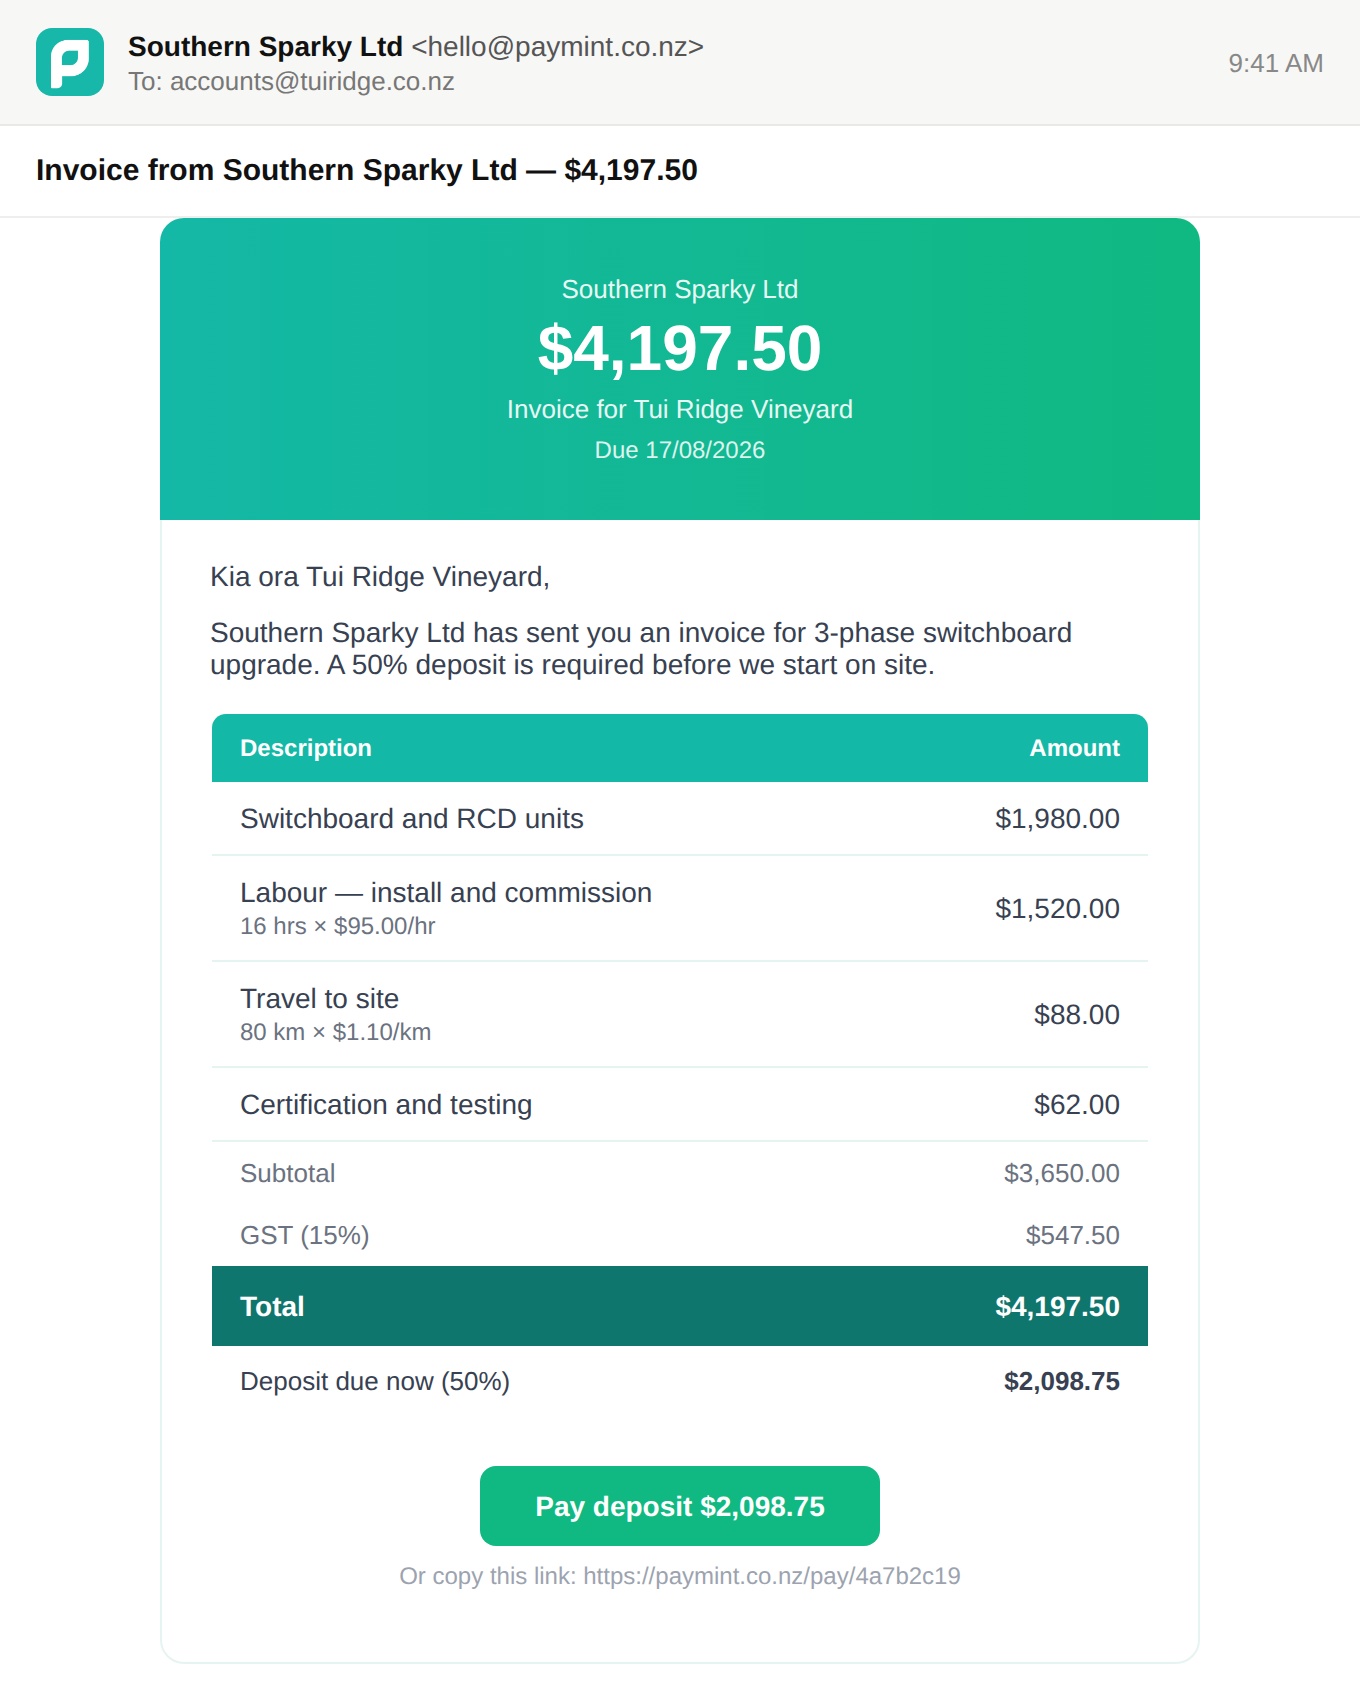
We email your customer
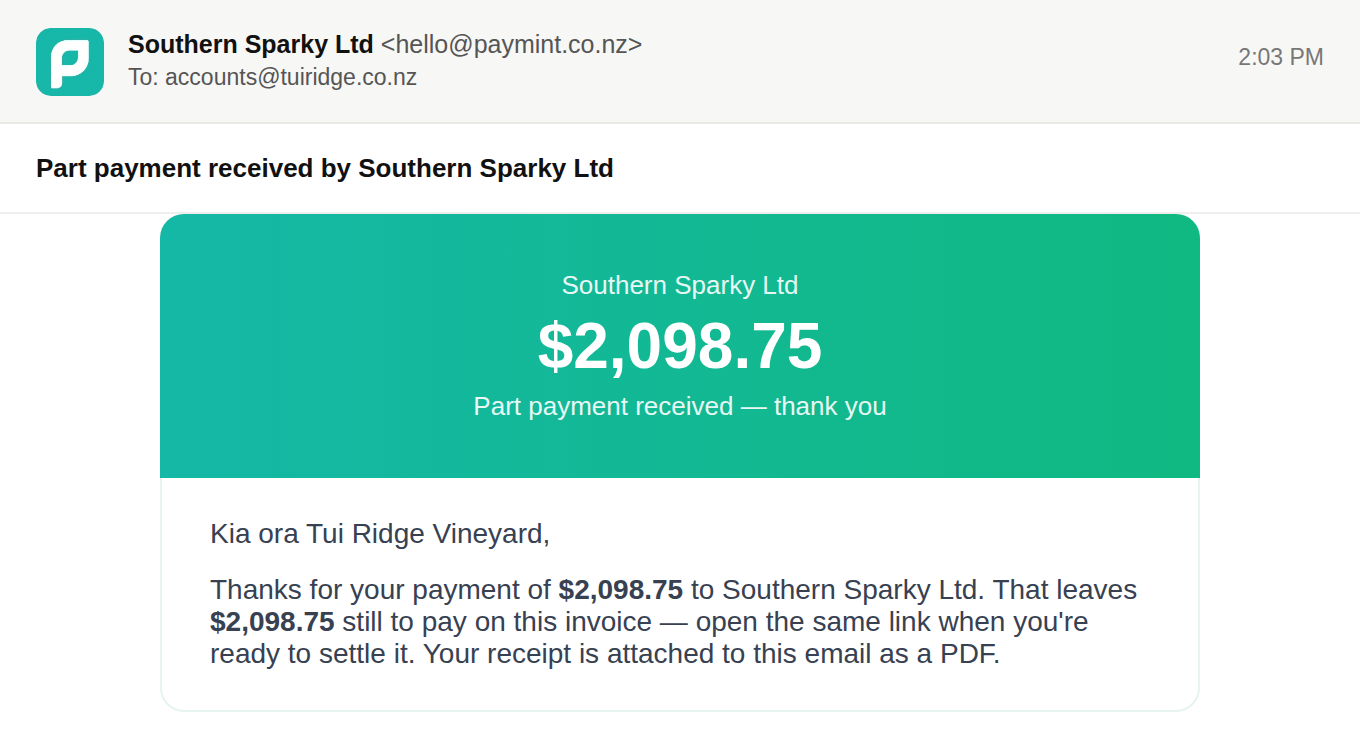
They get a clean, branded invoice with a "Pay now" button — no account or app required on their end. This is exactly what lands in their inbox.
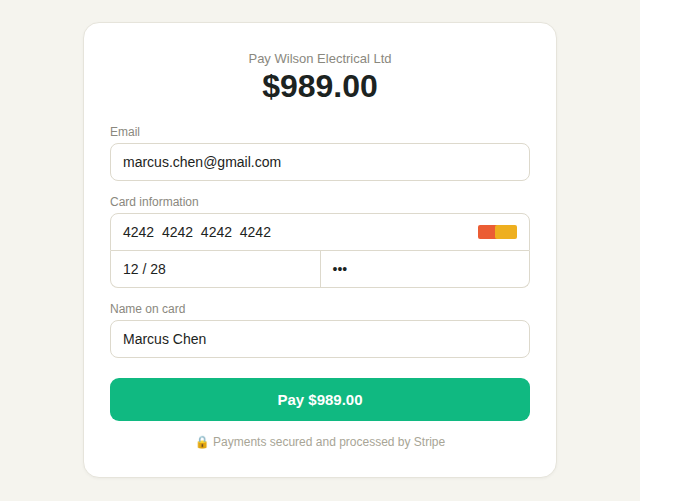
They pay securely
Card, Apple Pay or Google Pay, handled entirely by Stripe's checkout — your customer's payment details never touch our servers.
Invoice marked as paid
The moment Stripe confirms the payment, your invoice flips to "Paid" automatically — no manual reconciling.
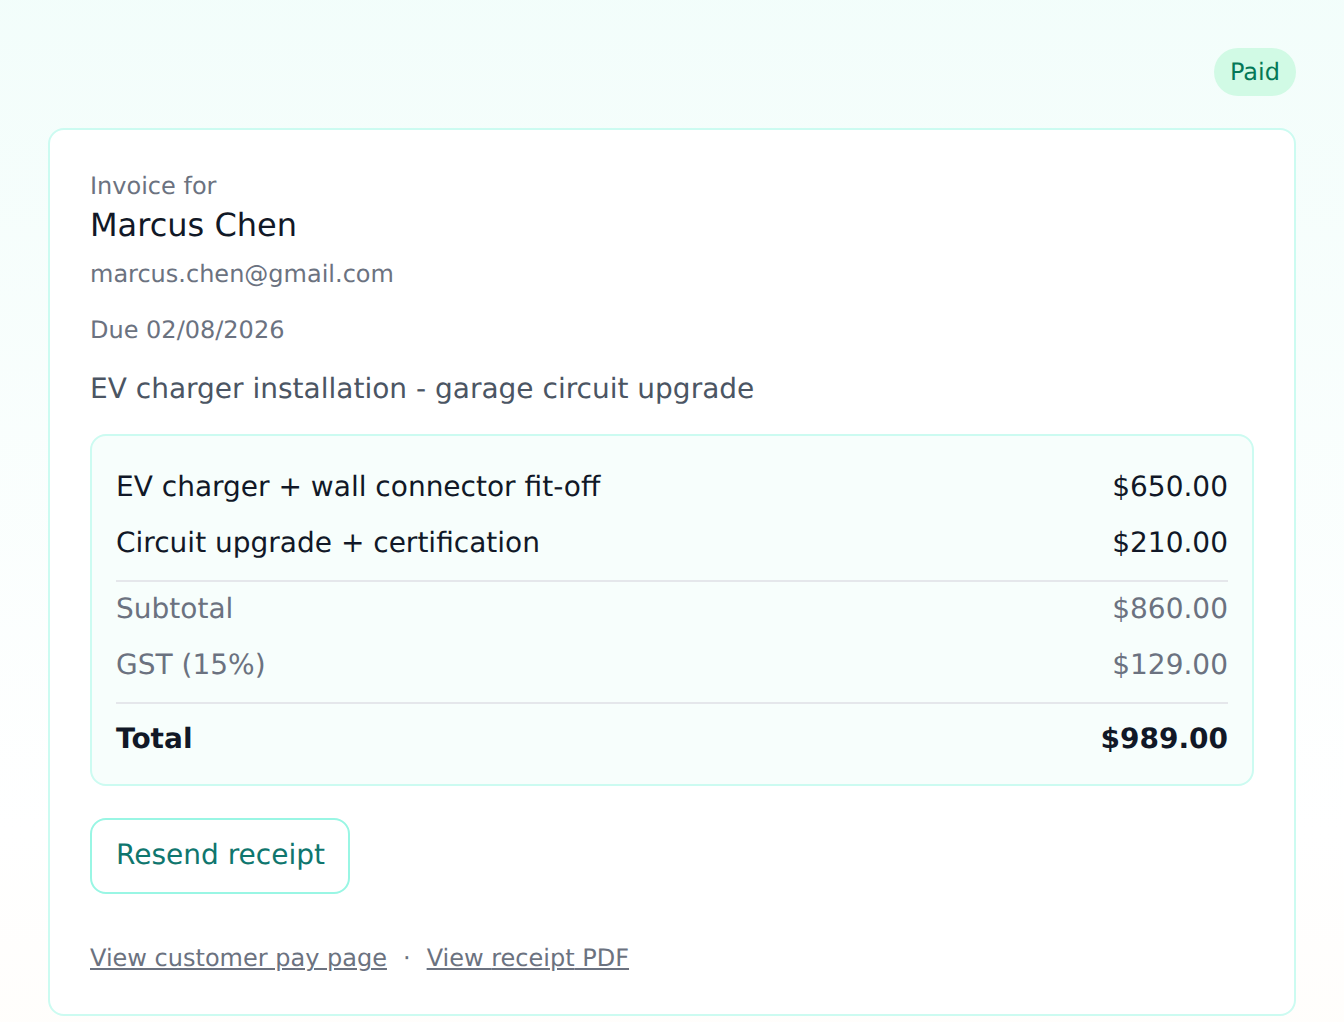
Receipt sent, money on its way
Your customer gets an automatic PDF receipt, and Stripe pays the money straight into your own connected bank account — we never hold your funds.
Where the money actually goes
No middleman holding your funds. Here's a $1,000 invoice, start to finish.
- Into your bank account
- $963.20
- PayMint — 1%
- −$10.00
- Stripe's card fee— 2.65% + NZ$0.30
- −$26.80
Stripe's rate is for a New Zealand card; international cards are 3.5% + NZ$0.30. Stripe sets these, not PayMint, and deducts its fee before the money reaches you.
PayMint does quotes, invoices and getting paid — it isn't accounting software. It won't do your payroll or file your GST return, but it will give you the figures your return starts from, and a CSV your accountant can take straight off you.